
So you’ve installed your shiny new Ubuntu server, maybe you’re going to installer Docker on there? Well whatever you’re using it for there are a few essential things worth doing, like setting up a firewall and enabling automatic updates to ensure the OS is kept secure and up to date.
In this guide were going to go through these essential items and explain what they are and why we’re doing them.
Setup Guide
Install some basic packages
First thing is to install some simple packages:
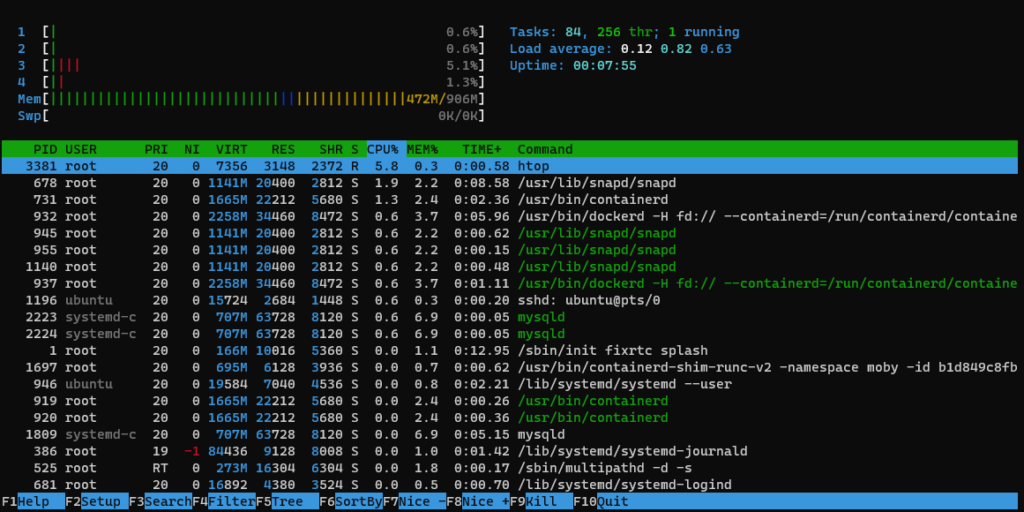
- htop – Like top but better. It gives a more detailed view of your processes and an easier way to highlight and stop each one
- trash-cli – Extends the ability to use the normal trashcan used by KDE and GNOME to the command line
- ncdu – A disk usage analyzer that gives interactive ability to manage your storage. It’s like DU but on steroids.
sudo apt install htop trash-cli ncdu
Configure Automatic Security Updates
The unattended-upgrades package can be used to automatically install updated packages, and can be configured to update all packages or just install security updates.
sudo apt install unattended-upgrades
sudo dpkg-reconfigure -plow unattended-upgrades
To configure unattended-upgrades, edit /etc/apt/apt.conf.d/50unattended-upgrades and adjust as follows to configure essential core and security updates only:
Unattended-Upgrade::Allowed-Origins {
        "${distro_id}:${distro_codename}";
        "${distro_id}:${distro_codename}-security";
        // Extended Security Maintenance; doesn't necessarily exist for
        // every release and this system may not have it installed, but if
        // available, the policy for updates is such that unattended-upgrades
        // should also install from here by default.;
        "${distro_id}ESMApps:${distro_codename}-apps-security";
        "${distro_id}ESM:${distro_codename}-infra-security";
//      "${distro_id}:${distro_codename}-updates";
//      "${distro_id}:${distro_codename}-proposed";
//      "${distro_id}:${distro_codename}-backports";
};
Then modify the following settings in /etc/apt/apt.conf.d/50unattended-upgrades. This allows the server to automatically reboot should an update require it at 04:00. It will also removed any unused dependencies installed that are no longer required.
Unattended-Upgrade::Automatic-Reboot "true";
Unattended-Upgrade::Automatic-Reboot-Time "04:00";
Unattended-Upgrade::Remove-Unused-Dependencies "true";
Next enable automatic updates, edit /etc/apt/apt.conf.d/20auto-upgrades and set as follows for daily upgrade installs:
APT::Periodic::Update-Package-Lists "1";
APT::Periodic::Download-Upgradeable-Packages "1";
APT::Periodic::AutocleanInterval "7";
APT::Periodic::Unattended-Upgrade "1";
Setup NTP
This part is optional but if you have your own NTP servers you’d like to use first install a test client for NTP verification & NTP server daemon
sudo apt install ntpdate ntp
Then disable default NTP client in favor in newly installed one
sudo timedatectl set-ntp off
Note: If the command fails you can ignore the error, it’s just informational to say it wasn’t running in the first place
Add in our new NTP servers
sudo bash -c "echo server time.cloudflare.com prefer iburst >> /etc/ntp.conf"
sudo bash -c "echo server pool.ntp.org prefer iburst >> /etc/ntp.conf"
Set your time zone, for me this is UK. You can find a list of valid timezone names here or by running the command timedatectl list-timezones
sudo timedatectl set-timezone Europe/London
Restart NTP Daemon to implement settings
sudo systemctl restart ntp
Then finally confirm settings are working
ntpq -p

Setup UFW (Firewall)
UFW (Uncomplicated Firewall) does exactly like what it says on the tin. You can allow ports through or use their handy pre-named apps to allow your service through the firewall and block everything else.
Configuration is dependent on what is installed on the server. You can get a list of known apps by running sudo ufw app list. Another common app you will find is Apache Full which contains config for allow port 80 and 443.
In this example i’m going to allow SNMP, SSH, SMTP through through the firewall, next i’m going to enable the firewall
# Config allows for SNMP, SSH, SMTP
sudo ufw allow 161/udp
sudo ufw allow "OpenSSH"
sudo ufw allow "Postfix"
sudo ufw allow "Postfix SMTPS"
sudo ufw allow "Postfix Submission"
# Finally enable the firewall
sudo ufw enable
You can confirm the firewall is running using sudo ufw status
Install ClamAV
ClamAV is a well regarded open-source antivirus engine. It has a relatively low day to day impact however I would not recommend running this on something small like a Raspberry Pi as it will eat all the memory and make it unusable.
First we install it along with the daemon which allows for background scanning
sudo apt install clamav clamav-daemon
To run an AV scan use the command clamscan. The below example runs a scan on everything excluding the /sys directory and any files that are above 4GB.
sudo clamscan --max-filesize=3999M --max-scansize=3999M --exclude-dir=/sys/* -i -r /
And there we have it. Our Ubuntu server will now keep its self up to date with the latest security updates, it’s going to have the correct time (and important aspect if you’re joining a domain, we have a software firewall in place for that extra layer of security, and we have ClamAV available for us to run on-demand antivirus scans.
Leave a Reply